Amazon AWS – Change EBS volume type using Snapshot
This article will walk through that how to change the AWS EBS volume
type using snapshot feature. There is a limitation with AWS that you
can’t change the volume type on fly. You must need to halt the instance
and change the volume type. But again , you can’t switch to all the
volume types available in AWS using that method. As a workaround , You
can take the snapshot of the EBS volume and create a new volume using
snapshot with desired volume type. Once you have the new volumes ready ,
You can simply detach the old volume from instance and attach the new
volume. Let’s have a look at the demonstration .
1. Login to the AWS console.
2. EC2 instance is already in shutdown sate. We are going to change
the instance root volume from SDD IOPS to Magnetic storage. Since the
instance is in shutdown state, data on the volume will be more
consistent.
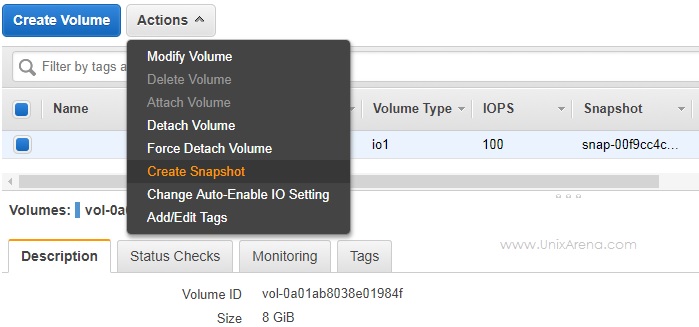
3. Navigate to the volumes tab in AWS console. Select the volume and click on “Create Snapshot”. Create EBS volume snapshot – AWS
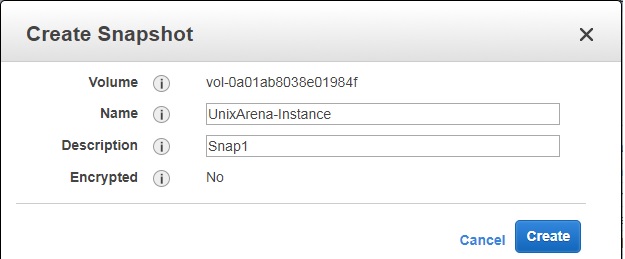
4. Enter the snapshot name for your reference and click on “Create” tab. Name the snapshot – AWS
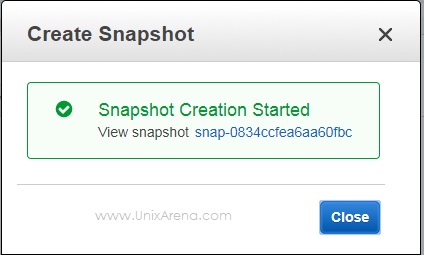
On the successful snapshot creation request, you will get message like below. EBS volume – Snapshot
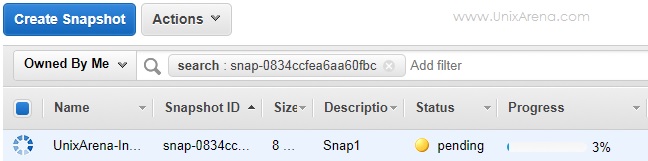
5. Navigate to the snapshot tab and look at the snapshot creation progress. In-progress – Snapshot – EBS
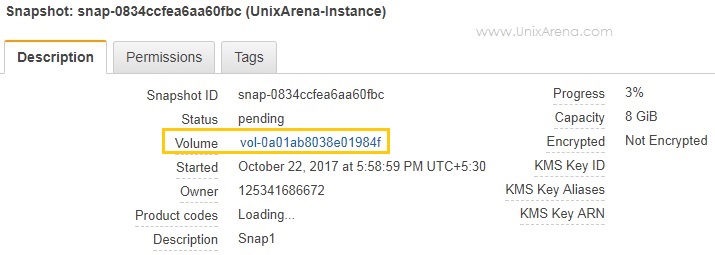
6. Check the snapshot description tab to see the origin of the snapshot that we have created. Snapshot Information – Volume
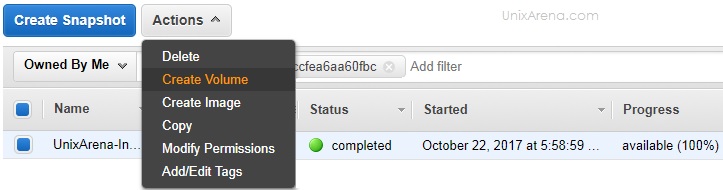
7. Once the snapshot is ready (progress tab), we will create a new volume with desired volume type. Create Volume from snapshot
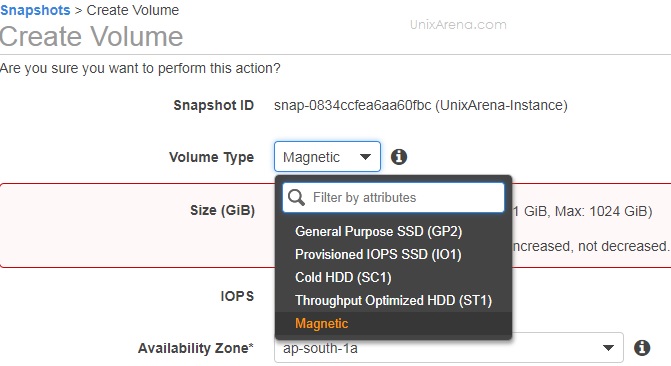
8. Select the desired volume type. Select the volume type – AWS
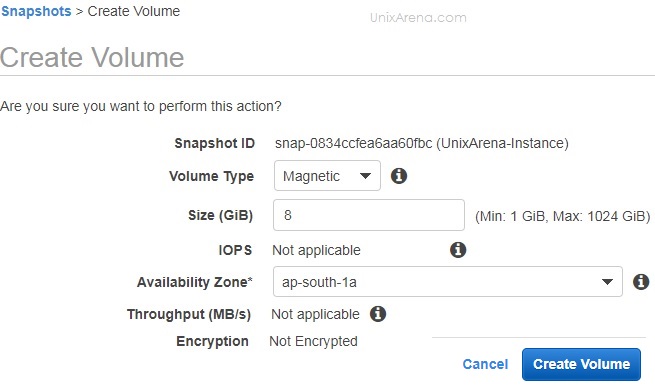
9. Enter the volume size same as source volume size or higher. You can,t give the volume size less than the source volume. Select the volume size as snapshot source size or higher
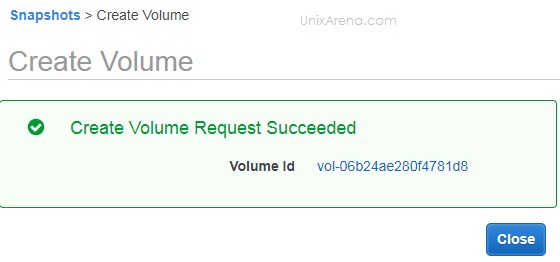
On the successful volume creation, you will get the following message with volume name. Volume Created – AWS
10. Navigate back to the volume tab and see the volumes. One is
source volume which is in SSD GP2 volume type. The other one is created
from snapshot which is in standard magnetic volume. New Volume created from Snapshot
We have successfully created the clone copy on new volume with
different storage type. Let’s see that to replace the volume for the
instance.
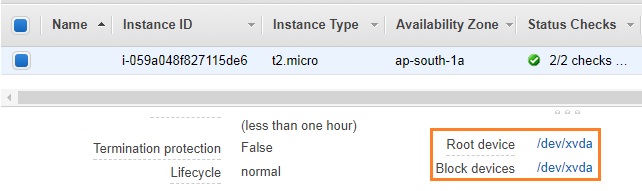
Before detaching the volume , you must find out the block device name
from the instance description tab. We need this information on step 14. Instance Volume Block Device Name
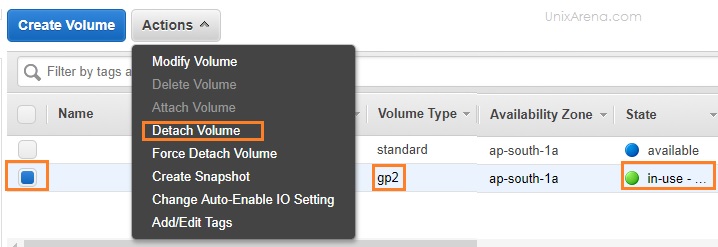
11. Detach the source (old) volume from instance. Detach the old volume from Instance
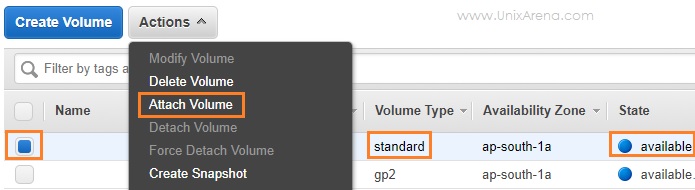
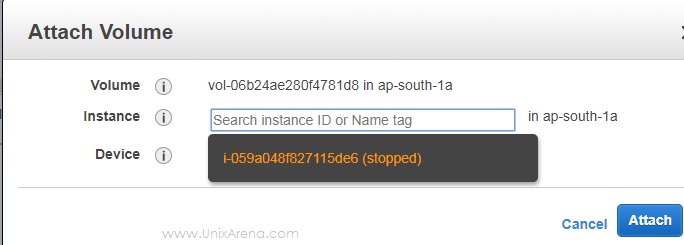
12. Select the newly created volume and attach it to the instance. Attach the new volume – AWS
13. Select the instance ID or tag. Select the Instance to Attach volume
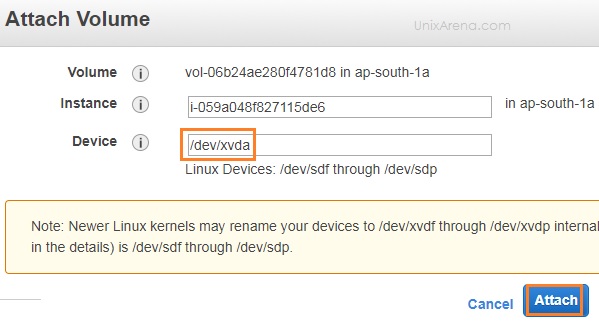
14. Enter the block device name which you have gathered before proceeding with step 11. Enter the correct block Device name
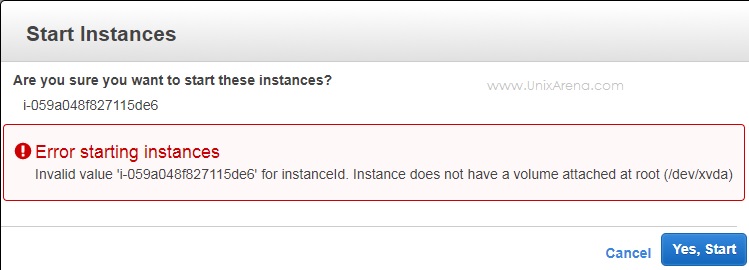
If you have entered different volume name than the source, you will get error like below while starting the instance. Invalid value for instanceId. Instance does not have a volume attached at root
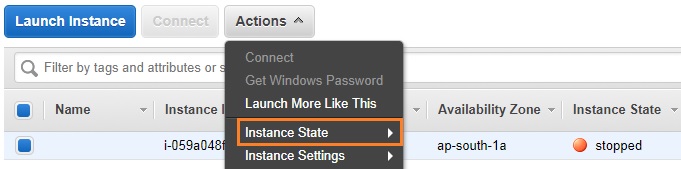
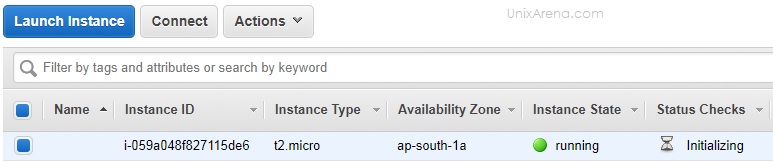
15. Go back to EC2 console and start the instance . Start the EC2 instance – AWS
16. You can see that instance s up & running fine. Instance is running with new volume type
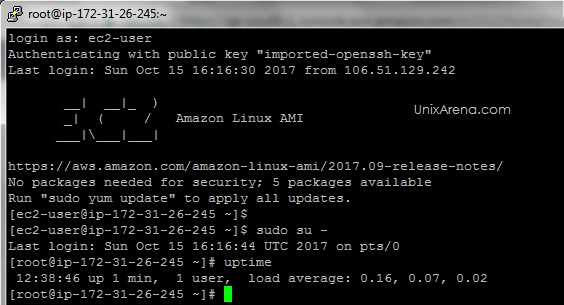
17. Let me login to the instance and check it . AWS instance Up & running
After the sanity check , you are good to destroy the old volume from the volume tab. Hope this article is informative to you .

No comments:
Post a Comment